Summary
In this section, we will cover the following how to use OpenSeesPy as an external benchmark for our custom shell solver.
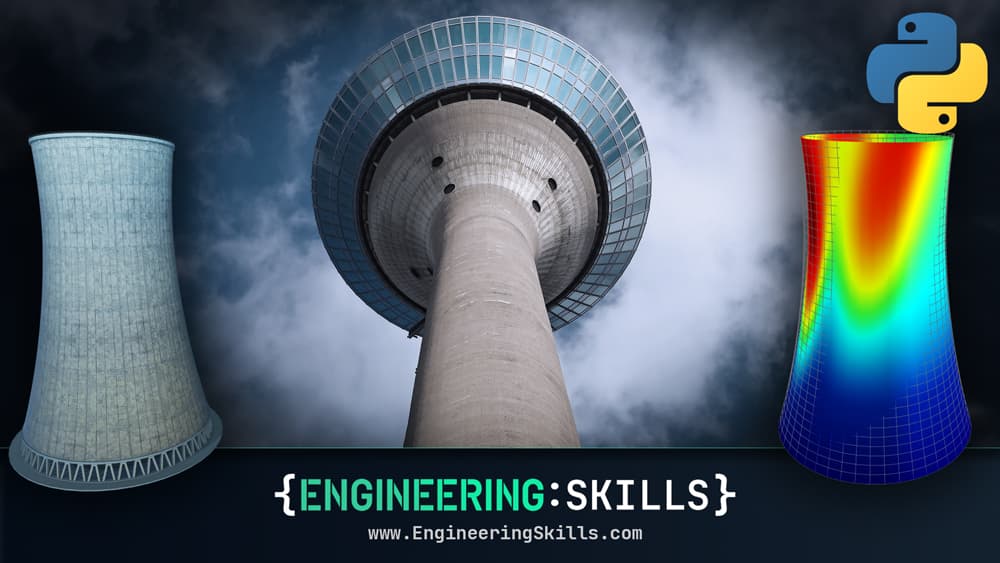
We begin by stepping back from the custom code developed so far and introducing OpenSeesPy as a mature, open-source finite element library. The purpose of the section is not to replace your solver, but to create an independent model of the same structure so we can test whether our implementation is producing trustworthy results.
By the end of the section, you will not only have a validation check for the custom shell solver, but we will also have built some familiarity with a broader modelling library that can be used for other types of structural analysis. The section is therefore both a validation exercise and a chance to add another useful tool to your workflow.
Next up
In the next lecture, we will set up the geometry, material properties, mesh data, and restraints needed before the OpenSeesPy model can be assembled.
Tags
Please log in or enroll to continue
If you've already enrolled, please log in to continue.
Finite Element Analysis of Plate and Shell Structures: Part 2 - Shells
Expanding from plate to shell elements - build a workflow that unlocks the behaviour of 3D shell structures
After completing this course...
- You will understand how we make the leap from Reissner-Mindlin plate elements to shell elements and what extra modelling fidelity that provides.
- You will be comfortable using a combination of GMSH and the open-source 3D modelling software, Blender, to generate custom finite element meshes.
- You will be able to use OpenSeesPy to model shell structures, as an alternative to your own custom finite element solver.
- You will have a much greater understanding of what commercial finite element packages are doing, behind the UI, allowing you to authoritatively interrogate their results.