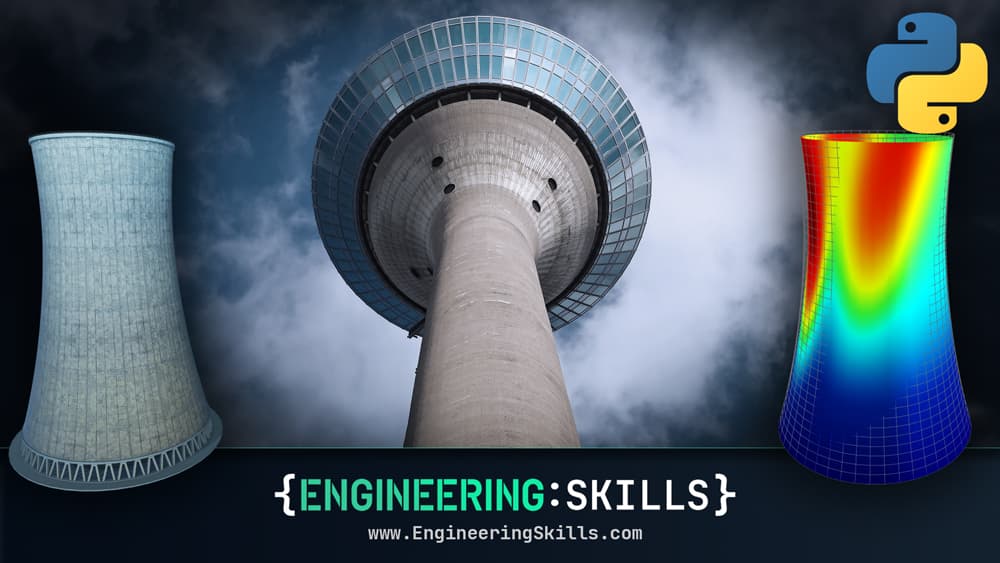
Summary
In this section, we'll draw together everything from the previous three sections and build a complete working version of our shell analysis notebook. By the end of the section, you will have a fully implemented custom Reissner-Mindlin shell solver, along with some genuinely useful visualisation functionality. In this section, we'll cover:
- Building a simple, parameterised shell surface to serve as our test-bed structure,
- Creating a function for visualising our 3D shell using Plotly,
- Processing the geometry of the structure by building rotation and transformation matrices for every element,
- Assembling the global structure stiffness matrix by stitching together individual element contributions,
- Building a global force vector based on the self-weight of the shell,
- Solving for the nodal displacements,
- Plotting the deflected shape of the shell along with a heatmap to clearly visualise displacement.
We'll start by building a basic parameterised shell so that we have something concrete to run our analysis on. With the geometry in place, we'll turn our attention to visualisation, building on the Plotly code we wrote in the previous section. From there, we'll move into the finite element code itself, following the traditional steps of processing the element geometry, assembling the structure stiffness matrix, constructing the force vector and finally solving for displacements.
Completing this section marks a major milestone in the course. After this, we can focus on validation, geometry generation and enhancing the robustness of our solver.
Next up
In the next lecture we'll get straight into building the procedurally generating shell mesh that we'll use throughout the rest of the section.
Tags
Please log in or enroll to continue
If you've already enrolled, please log in to continue.
Finite Element Analysis of Plate and Shell Structures: Part 2 - Shells
Expanding from plate to shell elements - build a workflow that unlocks the behaviour of 3D shell structures
After completing this course...
- You will understand how we make the leap from Reissner-Mindlin plate elements to shell elements and what extra modelling fidelity that provides.
- You will be comfortable using a combination of GMSH and the open-source 3D modelling software, Blender, to generate custom finite element meshes.
- You will be able to use OpenSeesPy to model shell structures, as an alternative to your own custom finite element solver.
- You will have a much greater understanding of what commercial finite element packages are doing, behind the UI, allowing you to authoritatively interrogate their results.